


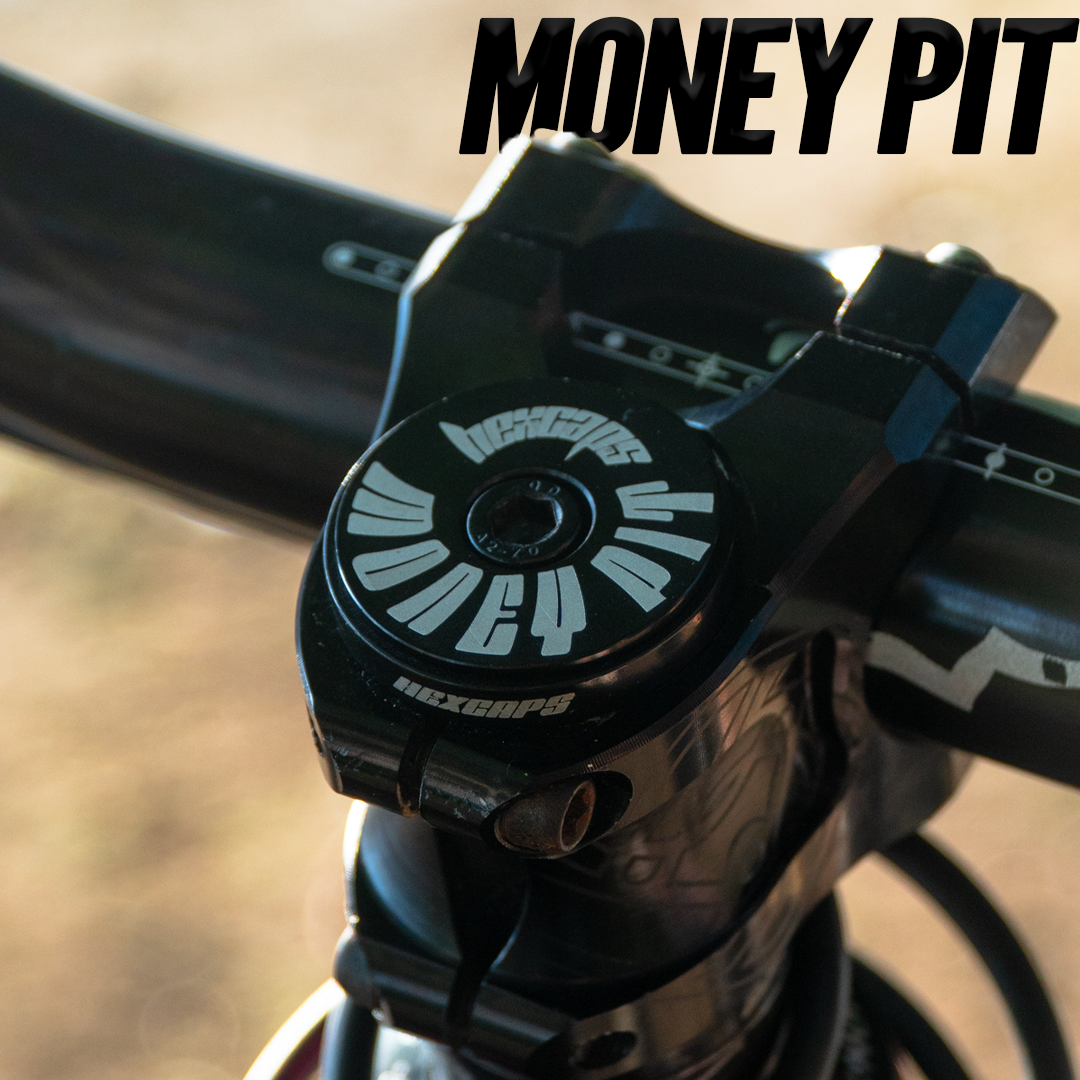
MONEYPIT MTB Topcap
MONEYPIT MTB Topcap
Will this fit my bike?
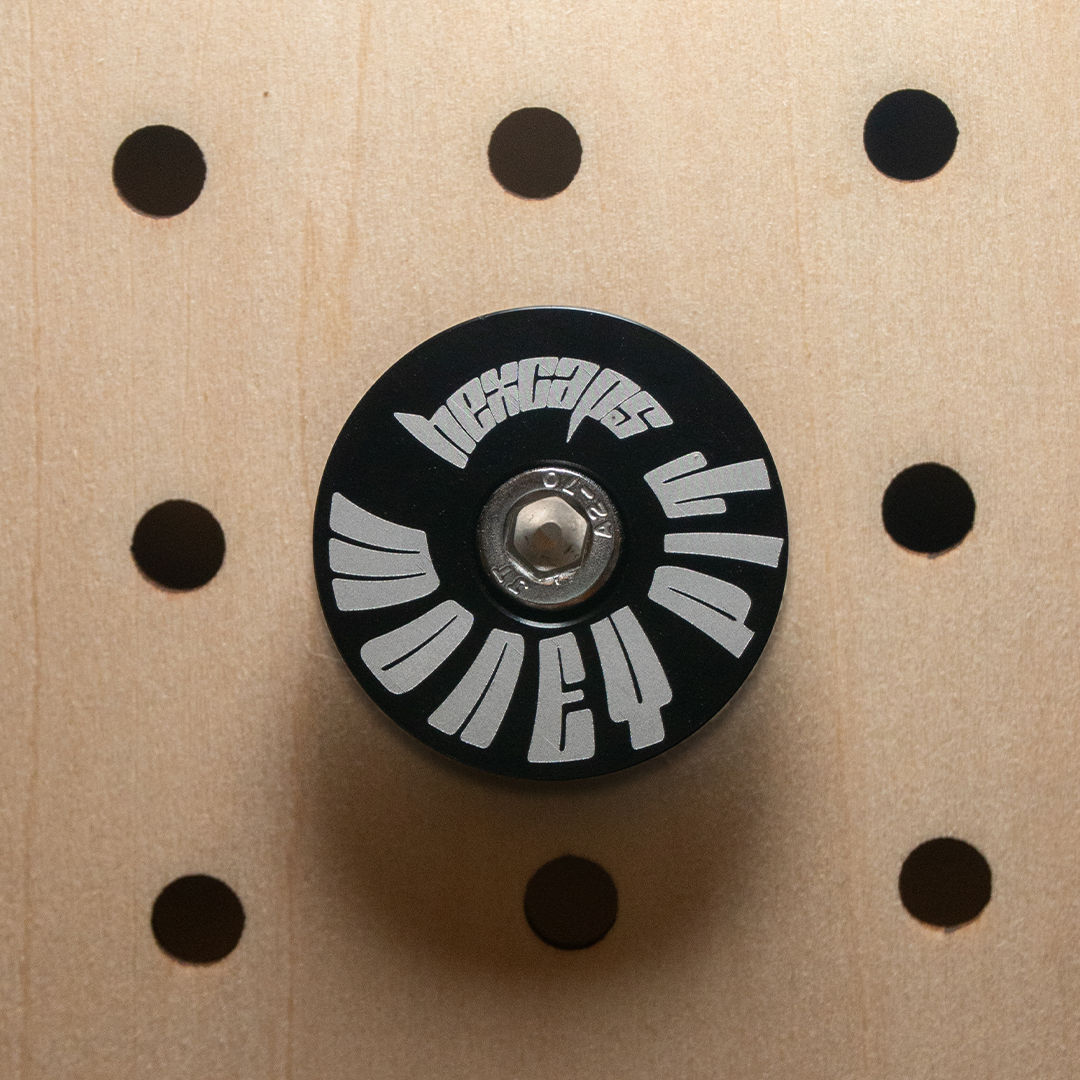
- Your current topcap is round and held by one centre bolt.
- Your bike does not store a tool inside the steerer tube.
- Your headset uses a standard M6 topcap bolt.
Leave your email and we’ll tag your request for this exact product.
Couldn't load pickup availability
-
Ordered
- - -
Order Ready
- - -
Delivered
(Does not apply to Pre-Order Items)

MONEYPIT MTB Topcap
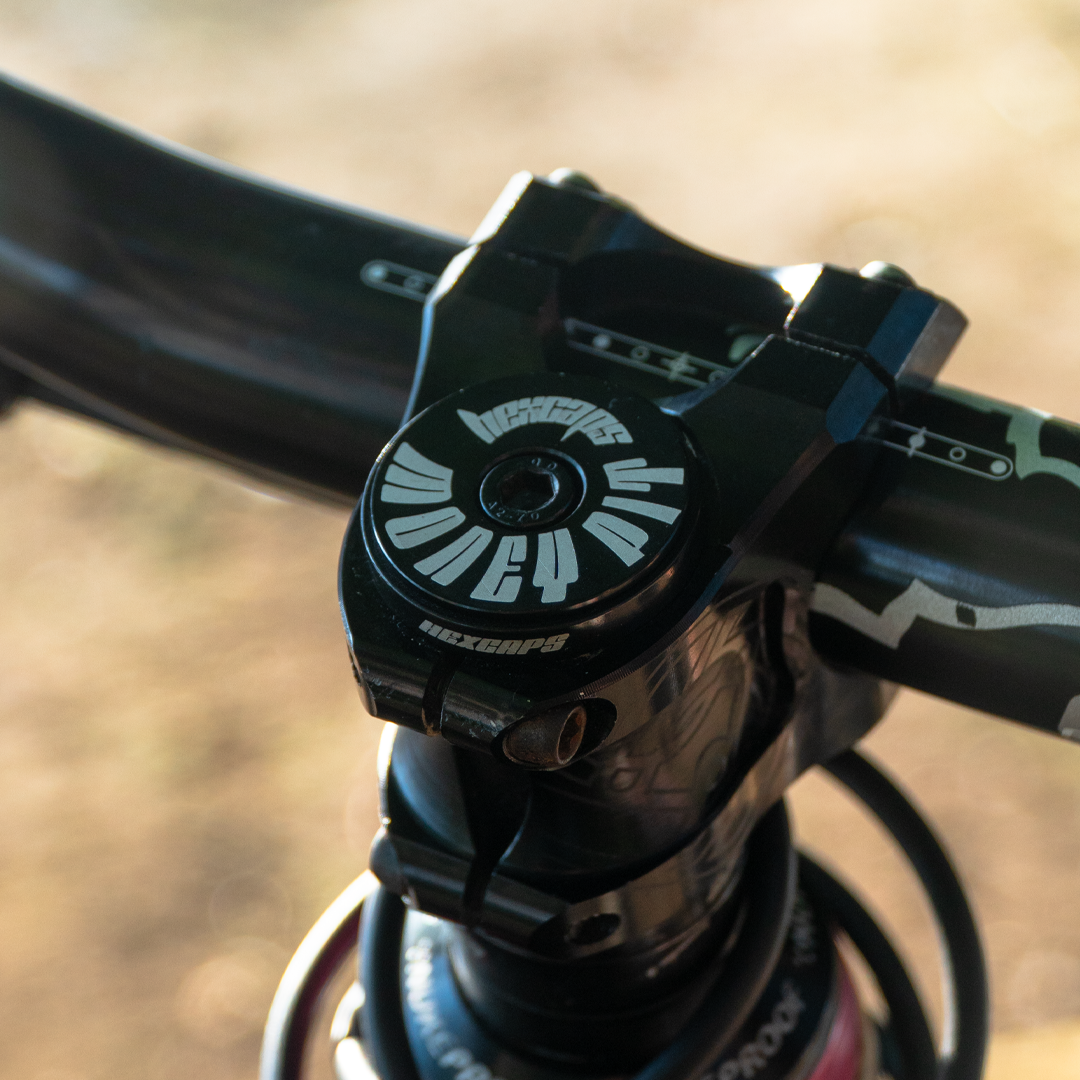
Fit & installation
Fit & installation
Hexcaps are designed for standard bicycle headset top-cap setups. Installation is quick: loosen the stem pinch bolts, swap the cap, preload the headset, then retighten the stem. Contact us before ordering if you are unsure about compatibility.
Buying for someone?
Buying for someone?
Not sure what to choose? Don't worry. Hexcaps fit most mountain bikes and make an easy gift for riders who want their bike to stand out.
What You Need to Know
Pick a design they'll love. You don't need to know their bike's size, wheel size or brand.
For an extra check, look at the middle of their handlebars. If there is a round topcap held in place by one bolt, a Hexcap will most likely fit.
What Comes With It?
Every Hexcap order includes:
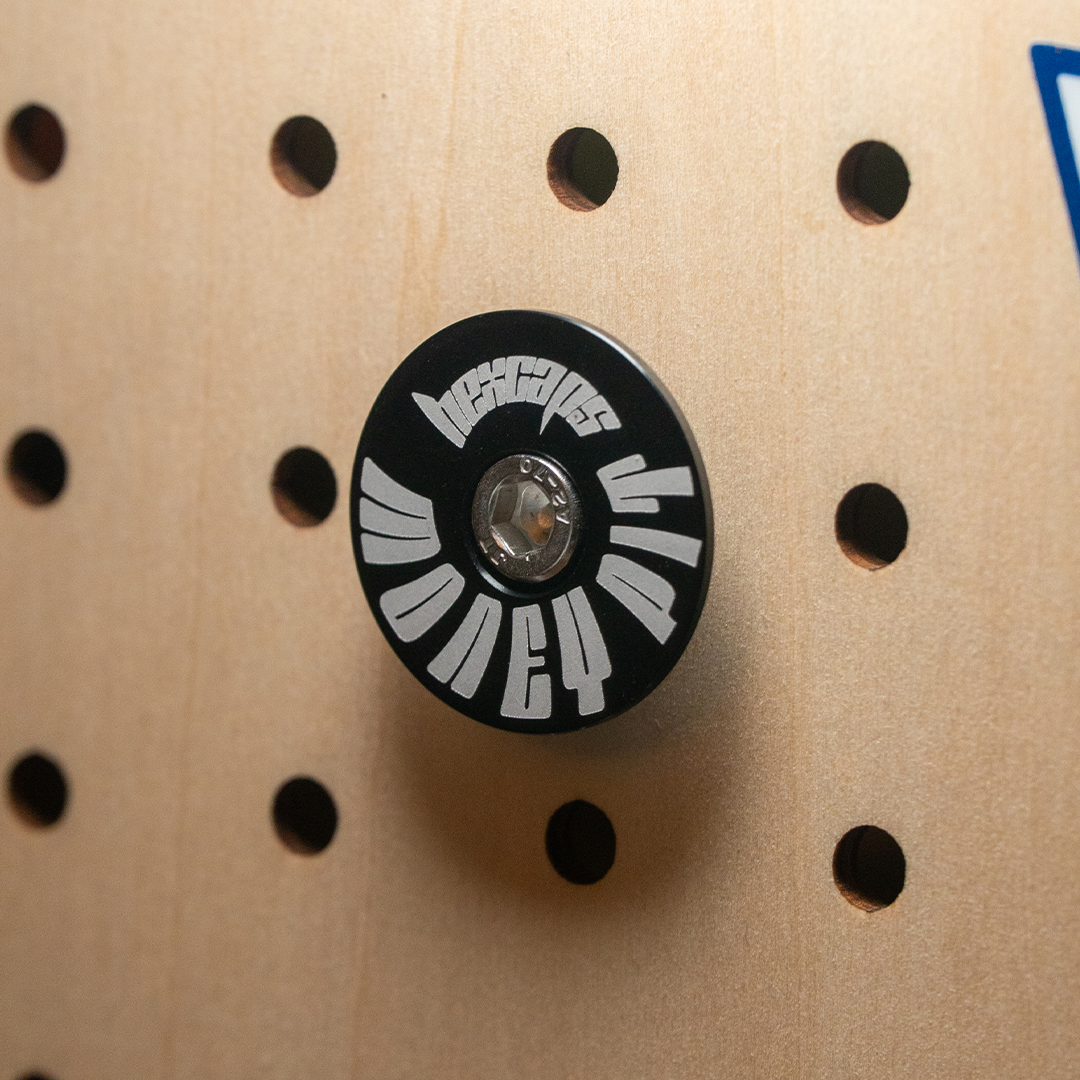
- One graphic topcap
- One M6 bolt
- Help checking the fit
- Simple fitting instructions
Tools are not included.
What Bikes Will It Fit?
Hexcaps are made for most modern mountain bikes and dirt-jump bikes with a standard topcap.
They may not fit bikes with:
- A special headset system
- A tool hidden inside the steerer tube
- A topcap with a different bolt or unusual shape
Still unsure? Send us a clear photo of the middle of the handlebars. We'll check it for you.
Check my bikeMoney-Back Guarantee
Buy the gift without the worry.
If the Hexcap doesn't fit, contact us within 30 days. We'll help you check the bike first. If we can't get it sorted, you can return it for your money back.
Your normal rights under Australian Consumer Law still apply.
Need Help?
We're real riders and we're happy to help.
Send us:
- A photo of the bike's current topcap
- The bike's brand and model, if you know it
- The Hexcap design you want
We'll tell you if it should fit.
Shipping & order help
Shipping & order help
Estimated dispatch and delivery timing is shown above. For order changes, fit questions, or return help, contact our support team and include your order number.
Product details
Product details
Make sure to remind yourself every time you look down at your bike!
Put these on your bike to:
👨🎨 Add a personal touch to your Bike!
🛠 Get rid of the old, sometimes warn top cap and bolt
⚖️ Lighten up your bike! Every Gram counts 😆
Specs and sizing:
Material: Aluminium alloy
Diameter: 32mm(1.26in)
Screw size: M6
These fit most Mountain bikes and road bikes, if you have a bolt (like an MTB) on your BMX, you may be able to run this part though most are unable to.
Colours: Black and Purple
Each order comes with bolts included, ensuring easy installation and a secure fit for your top cap.
BUNDLE & SAVE
Build Your Bundle
Mix different in-stock caps without leaving this product page. The more you build, the more you save.
Your bundle
Tap to add
Recently viewed
Jump back to designs you were comparing.
Rider Approved ✅


Let customers speak for us


Quick delivery the caps look so so good on my bike

Came so fast and was packaged well came with a bolt aswell which other topcaps dont come with


Very great quality and came relatively quick


Great looking cap, design helps create something more unique.

Very good, shared the look on my helmet and constantly getting compliments and questions, asking where they can buy them!
